
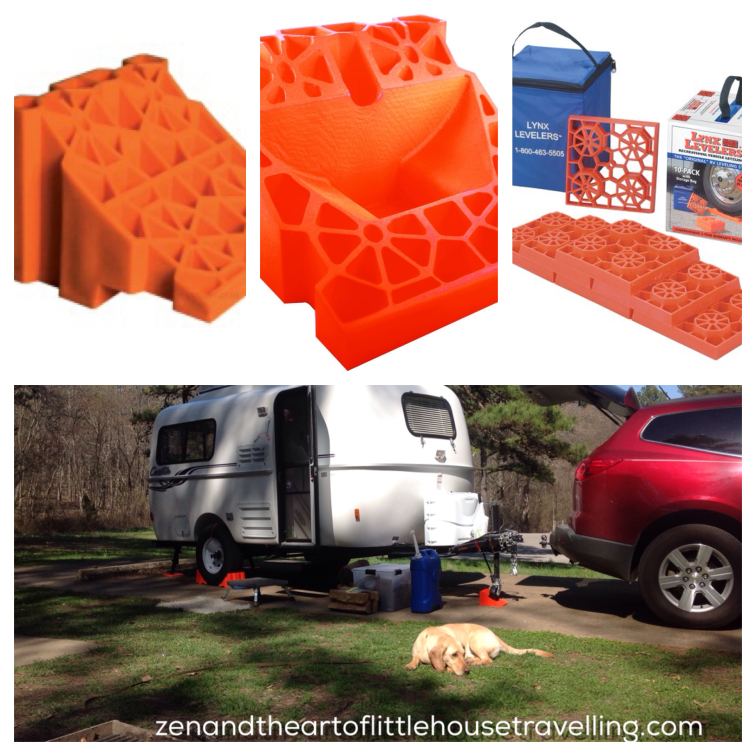
Right out of the gate, we purchased the Lynx Leveler blocks and pads and though they work well and you soon get the hang of how many to pick and the configuration to use, my advice is to skip over them and go straight to the Anderson Leveler. We have found the Anderson Leveler to be so simple to use and so much more compact to stow.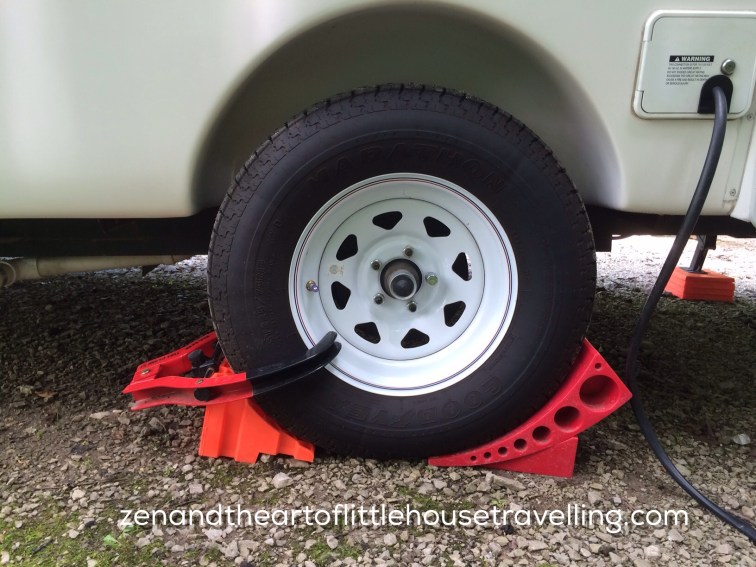
Note: You do want to be sure to use the chock (that comes with it) correctly. When we are needing a bigger lift we use the chock on whichever is the most uplifted side. (It makes a platform under the tire that way). Anderson has a YouTube video which is helpful.
Which leads me to the list of set up tools:
- 1 Lynx front wheel dock
- 3 Lynx wheel chocks
- 1 set of Lynx blocks (with flat pad tops to use under the rear stabilizers).
- Security (I’ll go into this in a later post.)
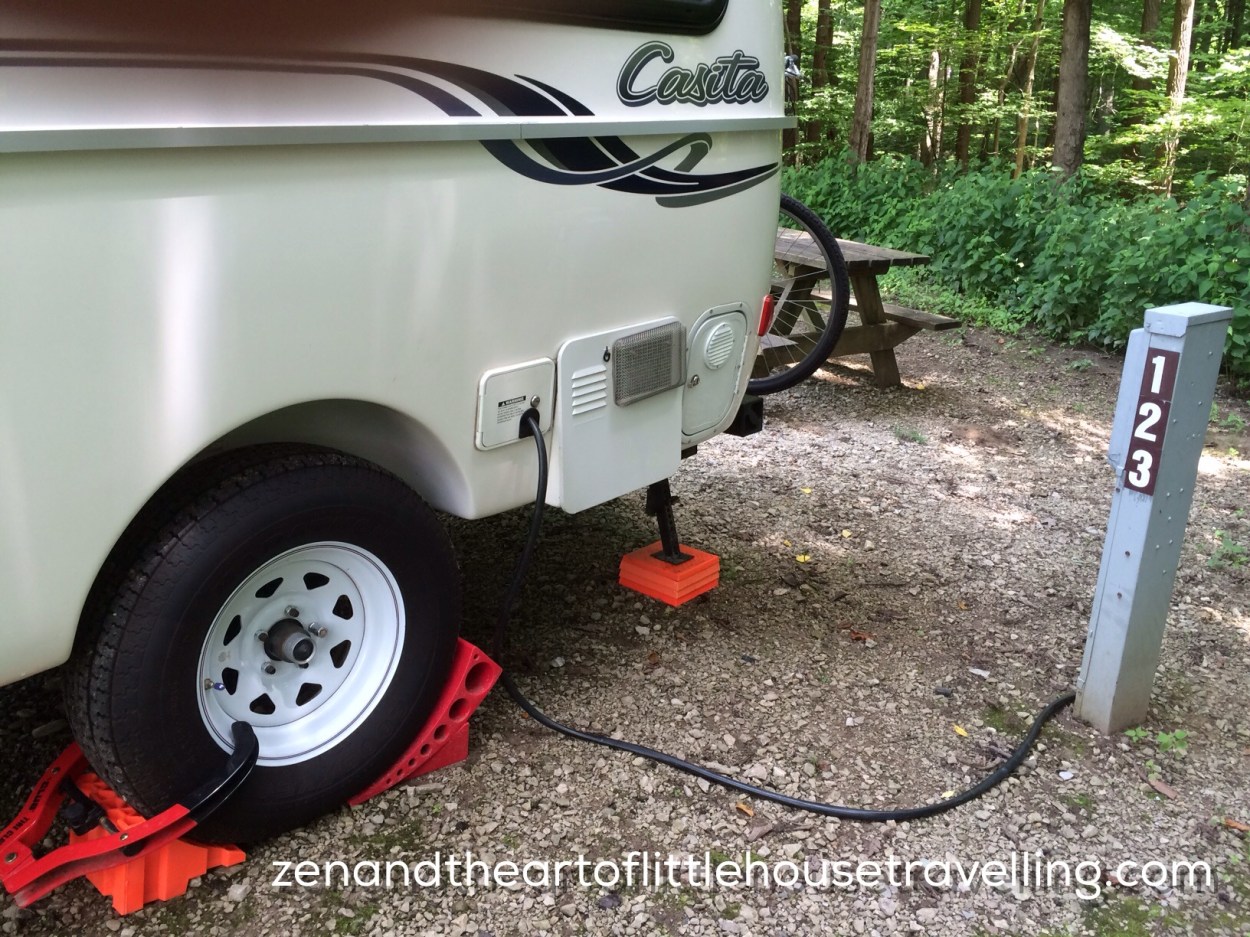
Once you back in, look at your front bubble level and see what wheel needs the Anderson Leveler, slip it in either in front or back of the wheel (it doesn’t seem to make any difference if we pull up onto it or back onto it as long as we chock both sides.) There are times when there is a parking block in back and pulling forward makes more sense so the stabilizers have room to come down on their pads. We have had to use a number of pads under the stabilizers from time to time because a back corner of a gravel parking spot may have washed out a little. In any event, bring a full kit of the leveling pads, just in case.
Hope that helps some of you newbies.
Note: we purchased all Lynx parts at a local RV dealer. The Anderson Leveler was purchased in Amazon.
©2016zenandtheartoflittlehousetravelling.com All rights reserved.
If you like what you are reading, please “Follow” by clicking on the “Follow” button in the lower right corner.
